前面已经学习了逆向相关知识,那么必然缺少不了实战。
那么我就先那钉钉开刀,因为更能勾起学习逆向的动力
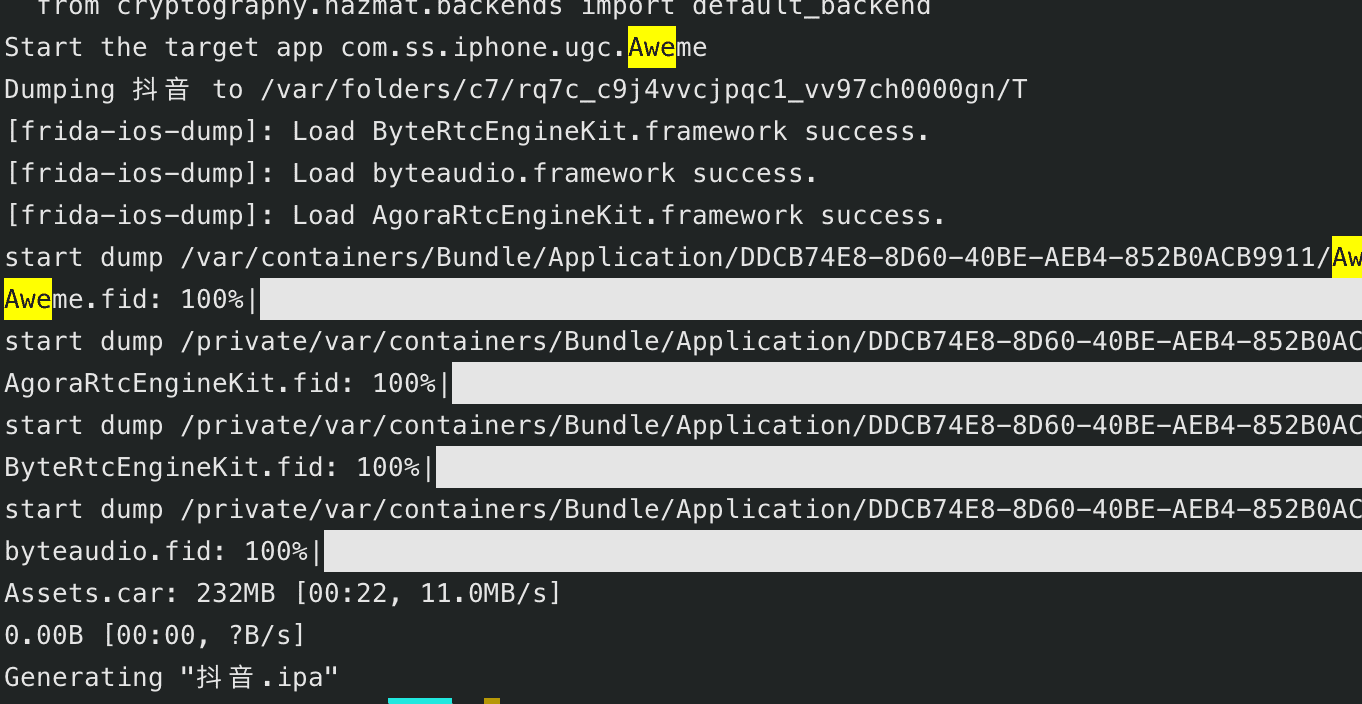
第一步:脱壳拿到ipa包
本次实战我是通过越狱手机,通过ios-frida-dump动态脱壳拿到ipa安装包
tips:通过多次实战对比frida比起Cluth、dumpdecrypted-master脱壳更加稳定
-
列出手机所安装所有BoundID

-
找到钉钉所对应的BoundID

-
开始脱壳获取钉钉.ipa

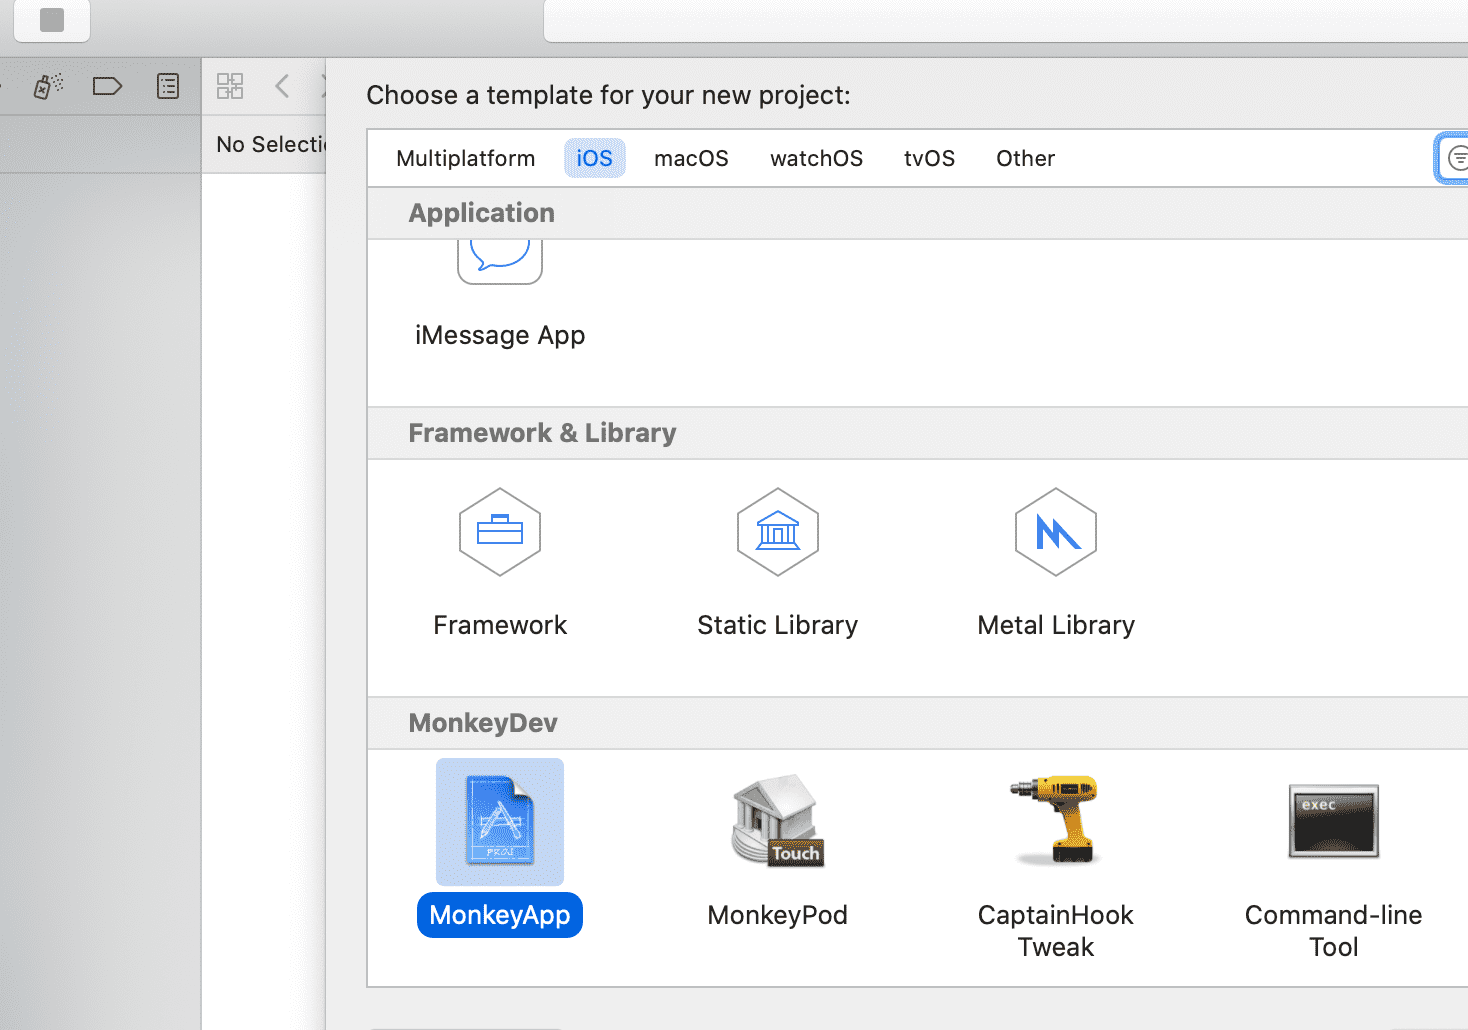
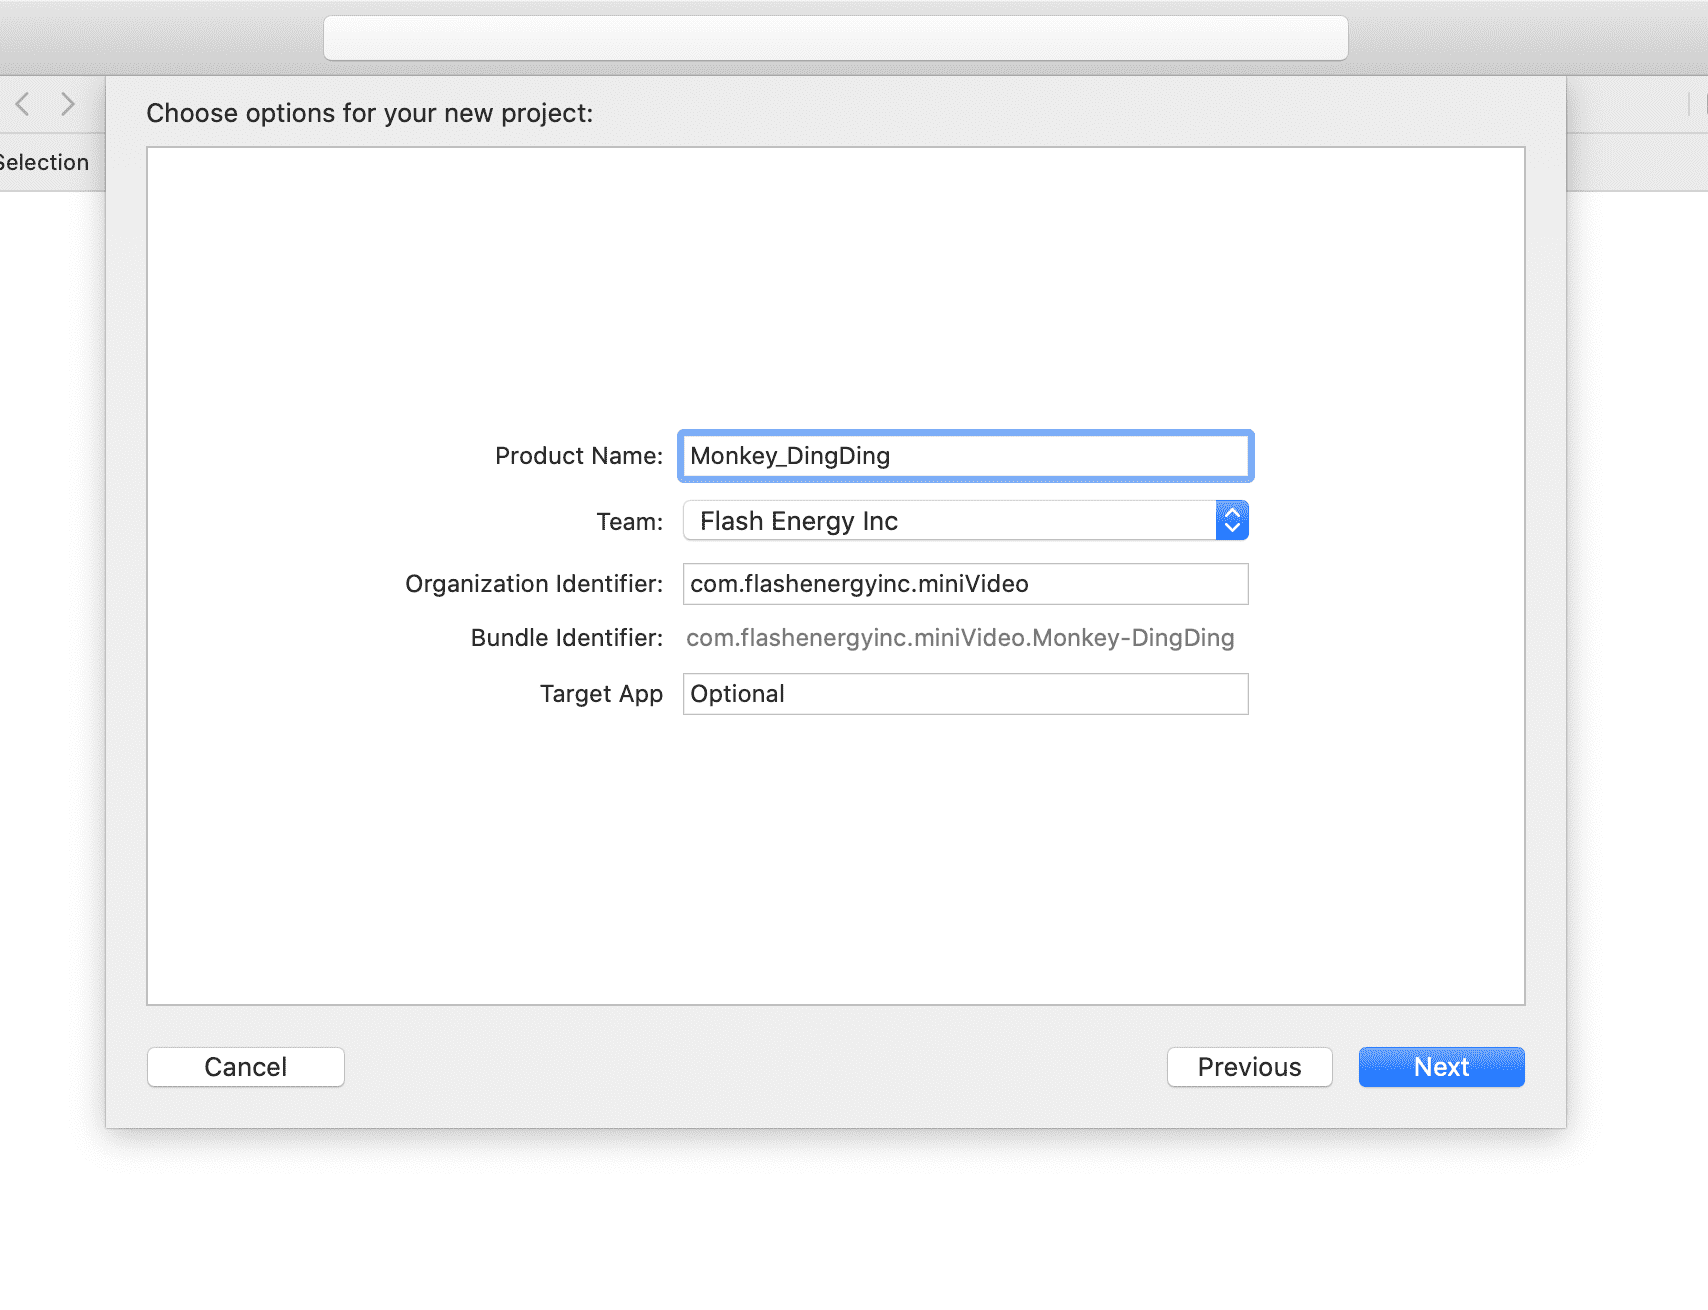
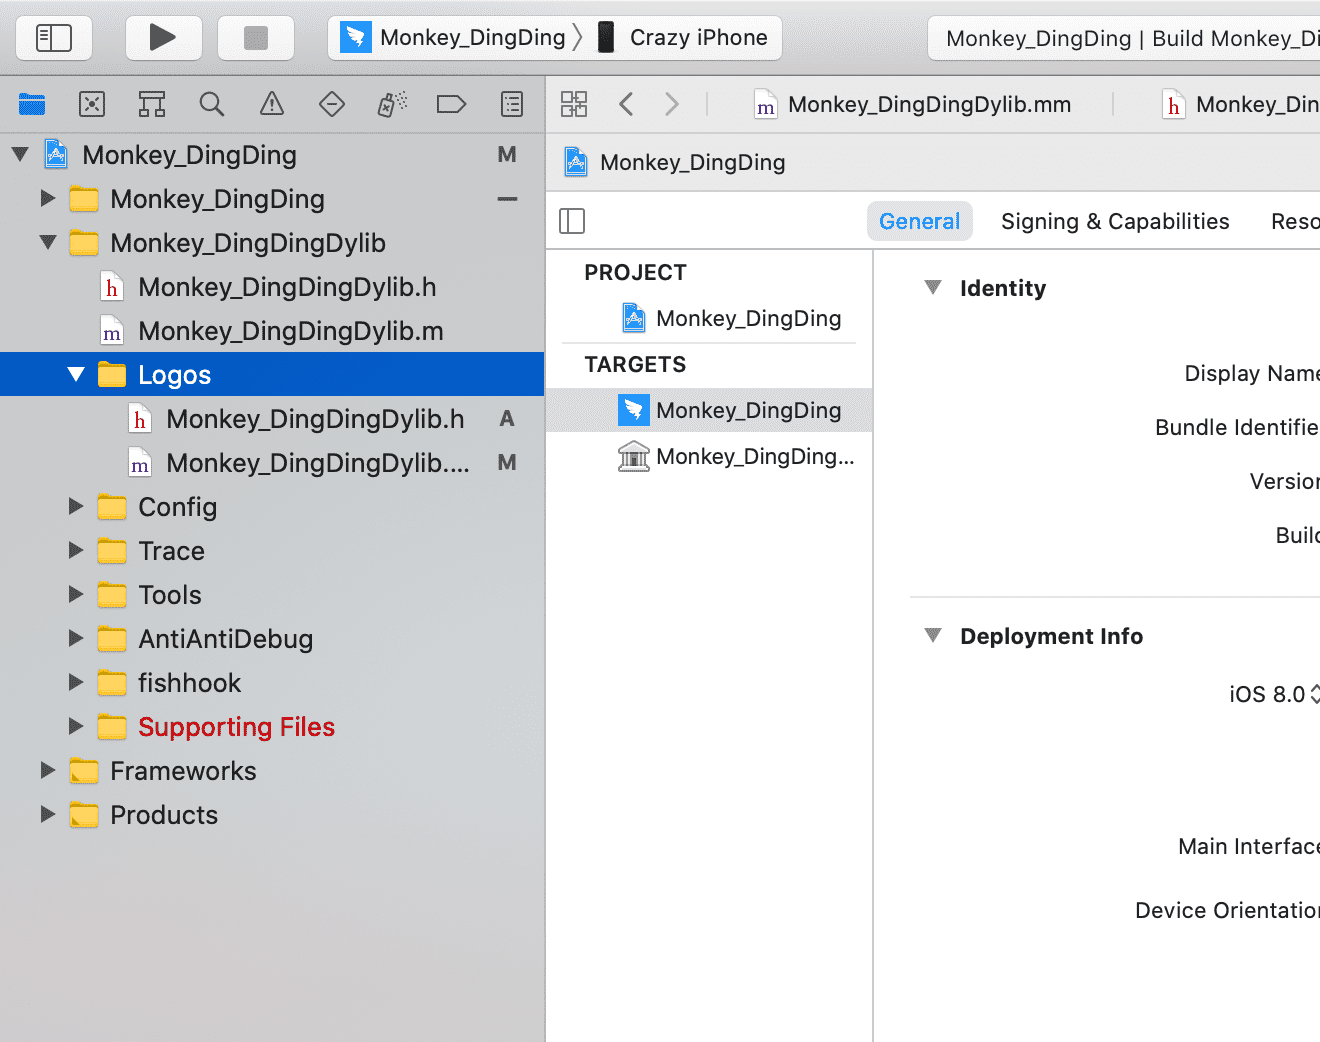
第二步:通过XCode创建MokeyDev项目
实战我就不通过Theos创建Tweek项目,而是直接使用MokeyDev更加方便快捷
-
创建MokeyDev和普通创建项目区别不大
-
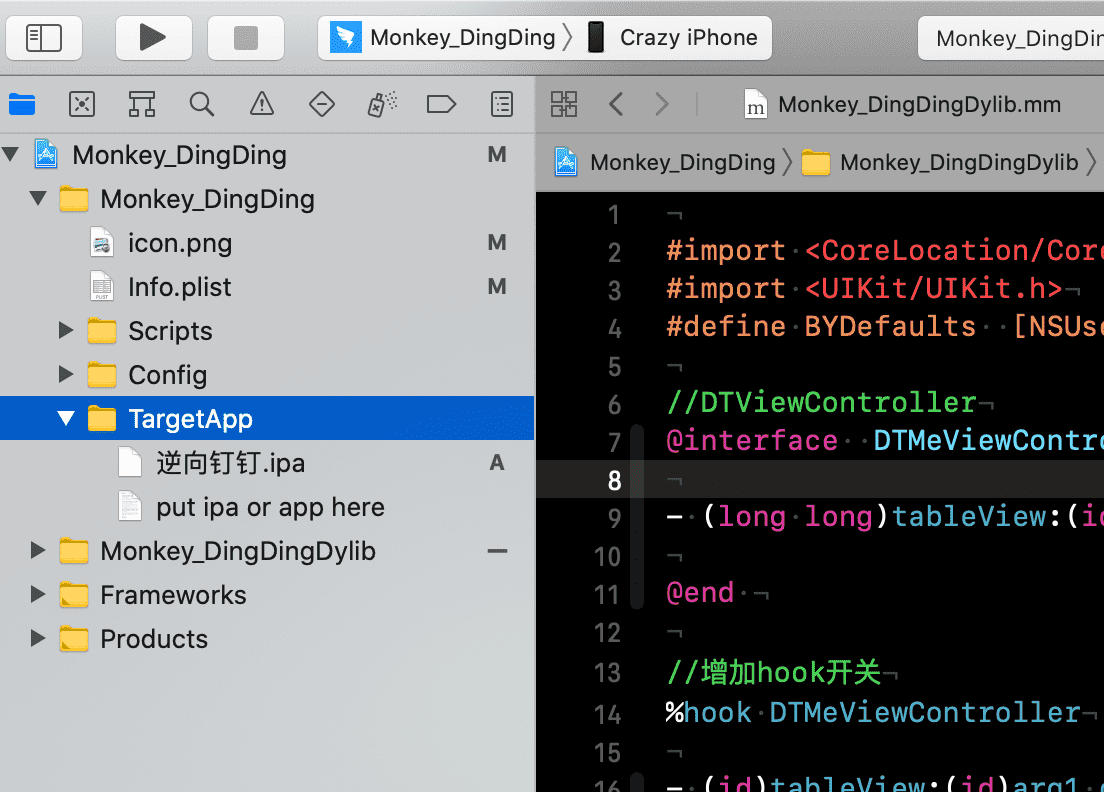
将ipa文件拖入到项目中Monkey_DingDing/TargetApp文件夹下
第三步:开始分析header
-
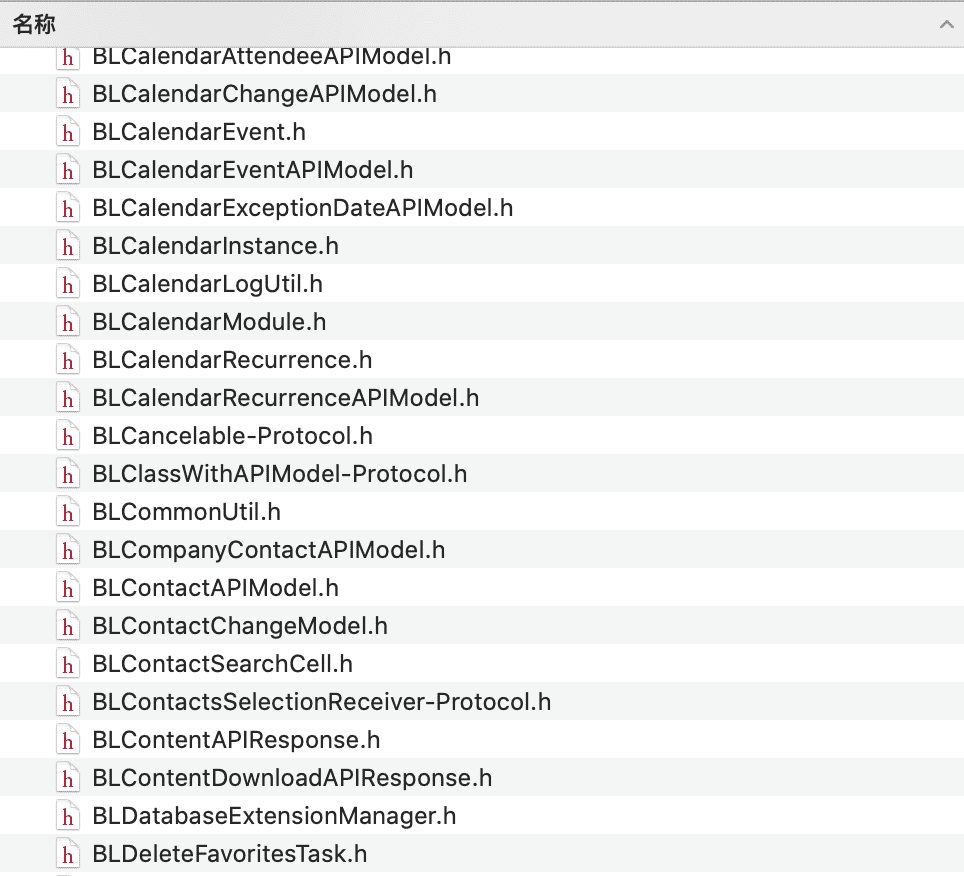
通过工具class-dump拿到Mach-O中header头文件

-
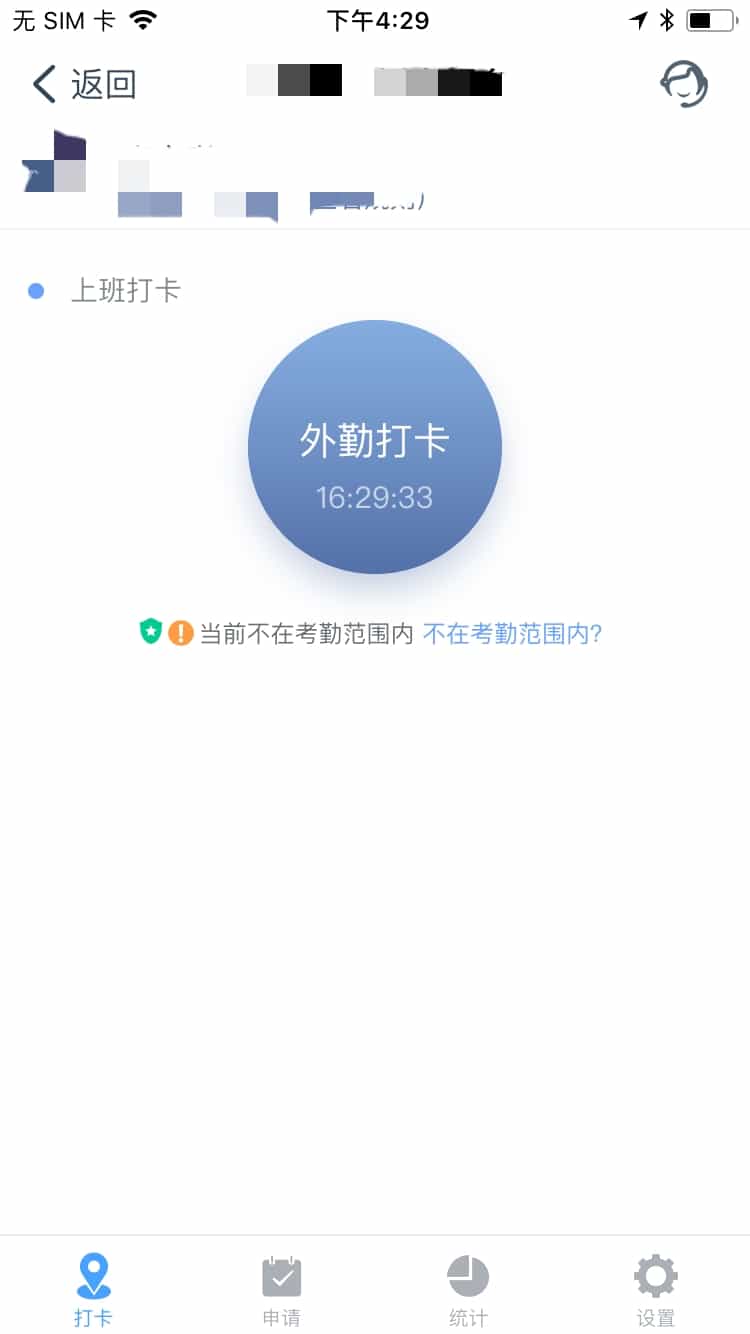
分析:钉钉主要通过定位打卡或Wifi打卡,那么我今天主要是hook掉定位,让定位的位置经纬度始终定位到公司地址,那么我们就能实现在任何地方打卡
tips:因为钉钉做了BoundID验证,不然每次重签名安装的时候,app会直接崩溃掉,这里我是先hook掉了BoundID,让App每次验证BoundID都是钉钉自己的ID.
第四步:开始编写代码,Hook掉定位
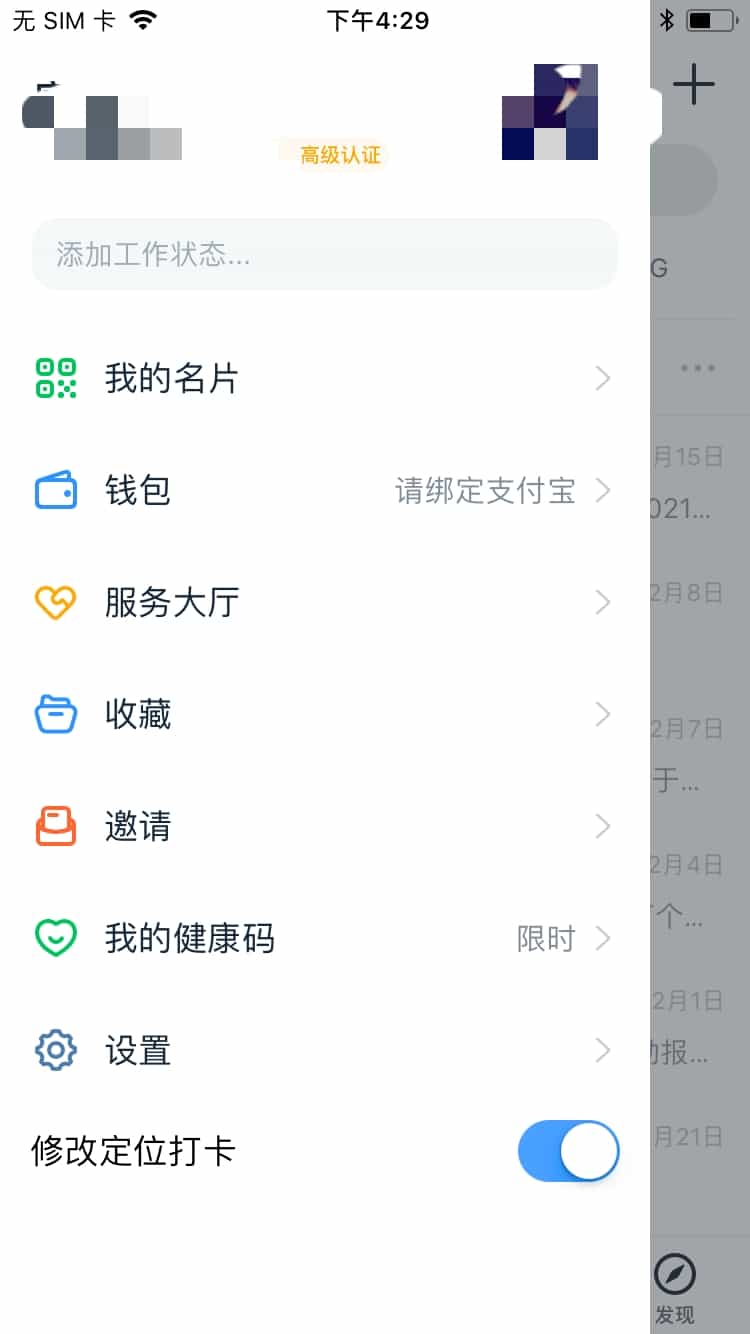
Hook代码主要是通过oc加logs语法编写,为了防止一直定位到公司的位置,在设置列表添加一个定位开关,用来管理定位。
tips:因为需要hook掉一段代码,需要不断的去尝试。那么这里我就不再赘述,我是如何定位到需要hook的代码的。
#import <CoreLocation/CoreLocation.h>
#import <UIKit/UIKit.h>
#define BYDefaults  [NSUserDefaults standardUserDefaults]

//DTViewController
@interface  DTMeViewController

- (long long)tableView:(id)arg1 numberOfRowsInSection:(long long)arg2;

@end

//增加hook开关
%hook DTMeViewController

- (id)tableView:(id)arg1 cellForRowAtIndexPath:(id)arg2{
   if ([arg2 row] != [self tableView:arg1 numberOfRowsInSection:0] - 1) {
        return  %orig;
    }

    // 最后一组cell的公共代码
    NSString *cellId = @"locatinCellId";
    UITableViewCell *cell = [arg1
            dequeueReusableCellWithIdentifier:cellId];
    if (cell == nil) {
        cell = [[UITableViewCell alloc]
                initWithStyle:UITableViewCellStyleDefault
                reuseIdentifier:cellId];
        cell.backgroundColor = [UIColor whiteColor];
        // 图片
        cell.imageView.image = [UIImage imageNamed:@"dingweiby"];
    }

    cell.textLabel.text = @"修改定位打卡";
        // 开关
    UISwitch *switchView = [[UISwitch alloc] init];
    switchView.on = [BYDefaults boolForKey:@"auto_location"];
    [switchView addTarget:self
        action:@selector(locationForSwitch:)
        forControlEvents:UIControlEventValueChanged];
    cell.accessoryView = switchView;

    cell.imageView.transform = CGAffineTransformMakeTranslation(-10, 0);
    cell.textLabel.transform = CGAffineTransformMakeTranslation(-10, 0);
    return cell;
}

- (long long)tableView:(id)arg1 numberOfRowsInSection:(long long)arg2{
    return %orig + 1;
}


//开关方法
%new
- (void)locationForSwitch:(UISwitch *)switchView{
    [BYDefaults setBool:switchView.isOn forKey:@"auto_location"];
    [BYDefaults synchronize];
}
%end


//其他hook方法
%hook LAPluginInstanceCollector
- (void)handleJavaScriptRequest:(NSDictionary *)arg1 callback:(void(^)(id))arg2{
    if([arg1[@"action"] isEqualToString:@"start"]){//有可能需要修改定位信息!
        //定义一个myBlock
        id myCallBack = ^(NSDictionary * block_arg){
            if([block_arg[@"keep"] isEqualToString:@"1"]){//需要修改GPS

                  if ([BYDefaults boolForKey:@"auto_location"] == YES){
                      int randNum1 = arc4random() % 100000;
                      int randNum2 = arc4random() % 100000;

                      NSMutableDictionary * tempDic = [NSMutableDictionary dictionaryWithDictionary:block_arg];
		              //修改block中的字典的值!
	                  tempDic[@"result"][@"latitude"] =  [NSString stringWithFormat:@"%lf",30.651241 + randNum1 * 0.00000001];
	                  tempDic[@"result"][@"longitude"] = [NSString stringWithFormat:@"%lf",104.039080 + randNum2 * 0.00000001];
	                   NSLog(@"xby023-11- 使用修改后的掉用!");
	                  //使用修改后的!
	                  arg2(tempDic);
                 }else{
                       NSLog(@"xby023-11- 保持原有掉用!");
                       arg2(block_arg);
                  }
            }else{
                arg2(block_arg);//保持原有掉用!!

            }
        };
        %orig(arg1,myCallBack);
    }else{
        %orig;
    }
}
%end
第五步:重签名,安装查看效果
- 未打开修改定位开关
- 打开定修改定位开关
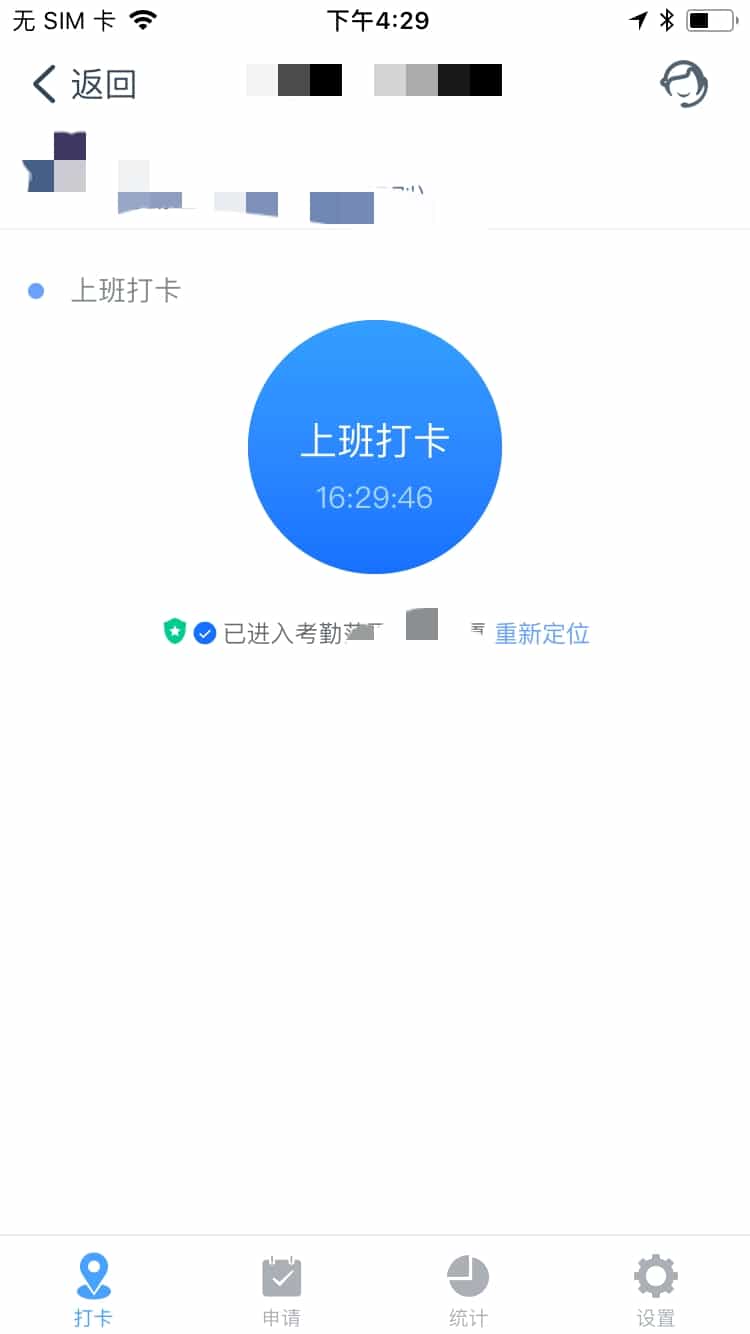
- 成功修改定位,并打卡成功